Visual Regression Tests for Storybooks
Published September 22, 2023
Implementing visual regression testing in Storybook with Storyshots and Puppeteer.
- Why Visual Regression Testing
- Common Tools
- Using Storyshots
- Challenges
- Outcome
- Next Steps
- Conclusion
- Links and references
Visual regression testing is an essential practice in software development that helps build confidence when making changes to codebases, such as refactors or dependency version upgrades. In this blog post, I will look at implementing visual regression testing in Storybook, and discuss some common tools and techniques used in this process.
Why Visual Regression Testing
When working on a project, especially on an internal design system, it is crucial to ensure that any changes made do not introduce unintended visual bugs or regressions. Visual regression testing allows us to compare the visual output of a component or UI element before and after specific changes, helping us identify any unexpected visual discrepancies.
As a developer working on an internal design system, I understand the importance of maintaining a stable and visually consistent UI. Our design system is built using the Carbon Design System, which provides a set of reusable components and guidelines. However, like any software, it is essential to regularly update and upgrade our dependencies to benefit from bug fixes and new features.
Common Tools
There are many tools for visual testing. The Storybook team recommends Chromatic to run visual tests in a lightning-fast cloud browser environment. However in this article I'll implement StoryShots, their self-managed alternative to Chromatic. It allows you to run visual tests on stories by integrating with jest-image-snapshot.
Jest is a widely used testing framework in the JavaScript ecosystem. By using the @storybook/addon-storyshots addon, we can leverage Jest's image snapshot feature to capture screenshots of our Storybook stories and compare them with existing reference images.
Using Storyshots
To get started with visual regression testing using Storybooks, we need to set up and configure the Storyshots addon. Here are the steps involved.
Installation
First, we need to install the necessary dependencies. In our project's directory, we can run the following commands:
npm install --save-dev @storybook/addon-storyshots
npm install @storybook/addon-storyshots-puppeteer puppeteer --save-dev
Next, we need to update our package.json file with the following scripts:
"scripts": {
  "snapshot:ds": "cross-env TZ=UTC jest --config=jest.snapshots.config.js --testPathPattern=/snapshots/index.ts",
  "presnapshot:ds": "npm run storybook:build-ds",
  "update-snapshot:ds": "npm run snapshot:ds -u",
}
Here's what each script does:
snapshot:ds: Runs Jest with a specific configuration file (jest.snapshots.config.js) and runs tests that match the pattern/snapshots/index.ts. This script is used to generate snapshots of the project's components and compare them to the previously generated snapshots to detect any visual changes.presnapshot:ds: Builds the project's Storybook, which is a UI development environment that allows developers to view and interact with the project's components in isolation. This script is run before generating snapshots to ensure that the latest version of the components is used.update-snapshot:ds: Runs Jest with the-uflag to update the snapshots that were generated by thesnapshot:dsscript. This script is used when the developer has made changes to the components that affect their visual appearance and wants to update the snapshots accordingly.
Types of Tests
Configuring Image Snapshots
To configure image snapshots, create a test file, such as /snapshots/index.js. In this file, we can define our test cases using Jest's toMatchImageSnapshot matcher. Here is a basic example:
import initStoryshots from '@storybook/addon-storyshots';

initStoryshots({
  framework: 'react',
  test: ({ story }) => {
    expect(story.render()).toMatchImageSnapshot();
  },
});
By running the npm run snapshot:ds command, Jest will capture screenshots of all our stories and compare them against the reference images stored in the __image_snapshots__ directory. Any visual differences will be highlighted as failing tests.
Challenges
During the visual regression testing process, we may encounter a few challenges that require additional attention and consideration.
Stories Requiring Interactions
Some stories in our Storybook may have interactive elements or user interactions. Testing such scenarios can be challenging, as capturing a single screenshot may not be sufficient to cover all possible states. In these cases, we need to consider using techniques like Puppeteer to programmatically interact with the component and capture screenshots at different stages.
To do so insert the appropriate code into the stories that need special steps before the snapshot is taken. For example, if a component requires a hover action, we can add the following code to the story:
// ActionContainer.stories.tsx
const activateActionContainer = async (page: any) => {
const selector = ".ds--action-container";
await Promise.all([
page.waitForNavigation(),
page.waitForSelector(selector),
page.hover(".ds--action-container"),
page.waitForTimeout(1000),
]);
const element = await page.$(".ds--action-container");
expect(await element.screenshot()).toMatchImageSnapshot();
};
Default.parameters = {
async puppeteerTest(page: any) {
await activateActionContainer(page);
},
};
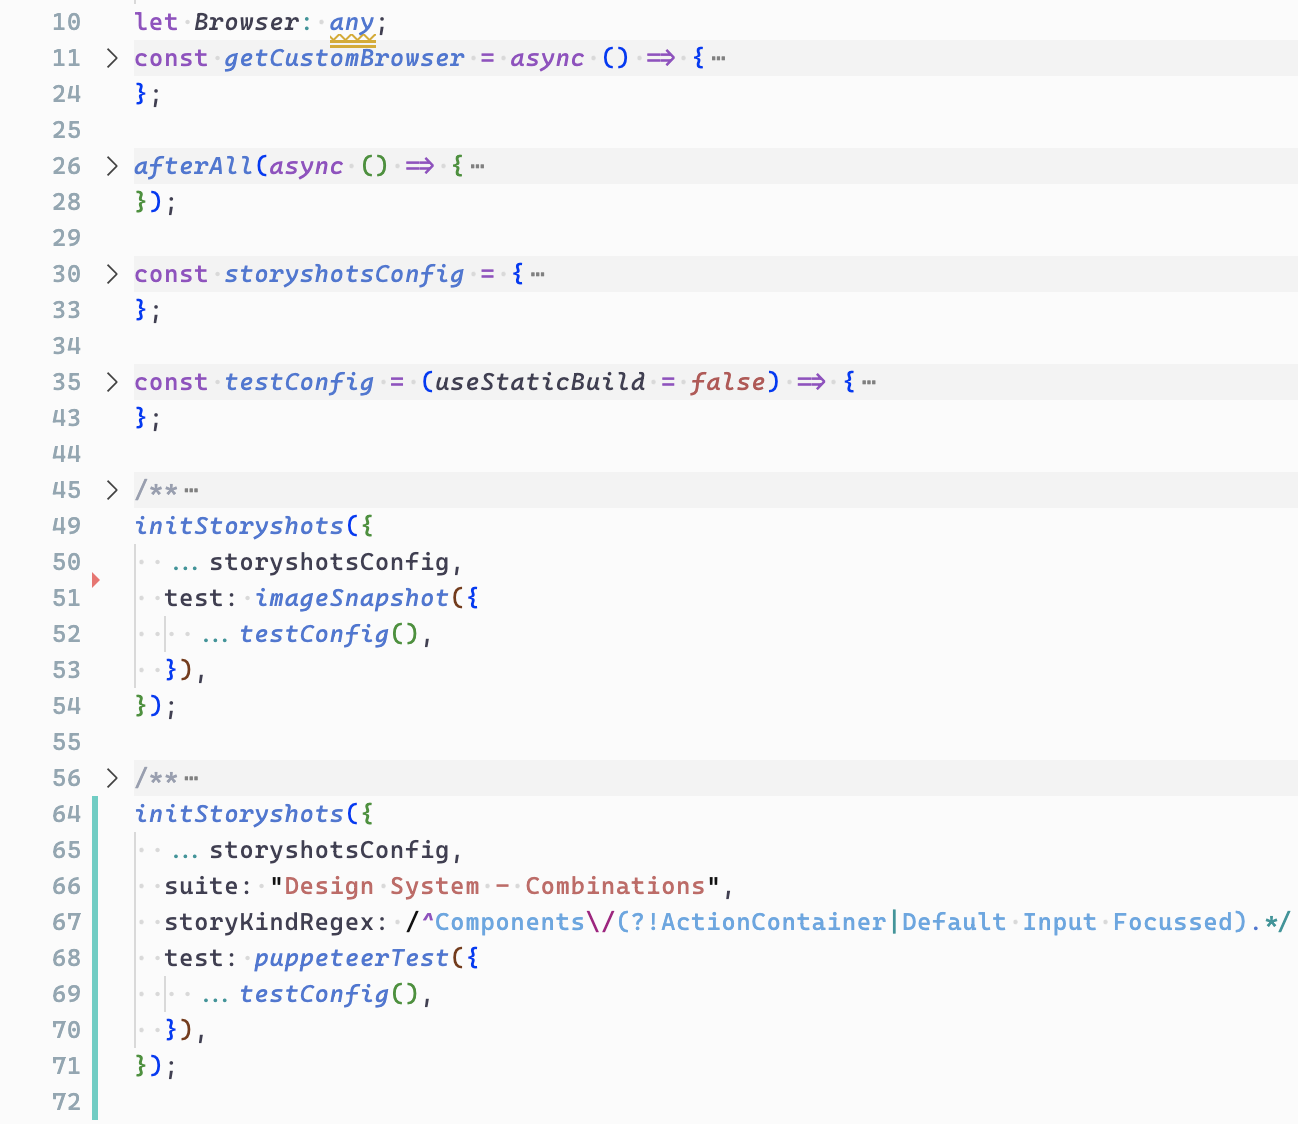
/**
* Override the puppeteerTest() method in each story where present
*/
// snapshot/index.ts
initStoryshots({
...storyshotsConfig,
suite: "Design System - Combinations",
storyKindRegex: /^Components\/(?!ActionContainer|Default Input Focussed).*/, // exclude interactive stories
test: puppeteerTest({
...testConfig(),
}),
});
Dynamically Generating Snapshots for Storybook Controls
Storybook provides various controls that allow us to change the props and state of our components dynamically. However, capturing screenshots for all possible combinations of these controls can be impractical. To overcome this challenge, we can write code to programmatically generate snapshots for a subset of important combinations or focus on testing the default state of the components.
/**
* @param initialUrl - The initial URL of the page.
* @returns A function that takes snapshots of a page with different control states.
*/
// utils/snapshot.ts
export const takeSnapshotsFactory = (initialUrl: string) => {
return async (page: any, states: Record<string, boolean[] | string[]>, timeout?: number) => {
for (const controls of Object.keys(states)) {
const args = states[controls];
for (const value of args) {
await page.goto(`${initialUrl}&args=${controls}:${value}`, {
waitUntil: "networkidle2",
timeout: timeout || 30000, // use provided timeout or default to 30 seconds
});
expect(await page.screenshot()).toMatchImageSnapshot({
customSnapshotIdentifier: ({ defaultIdentifier }) => `${defaultIdentifier}-${controls}-${value}`,
});
}
}
};
};
/**
* configure snapshot images
*/
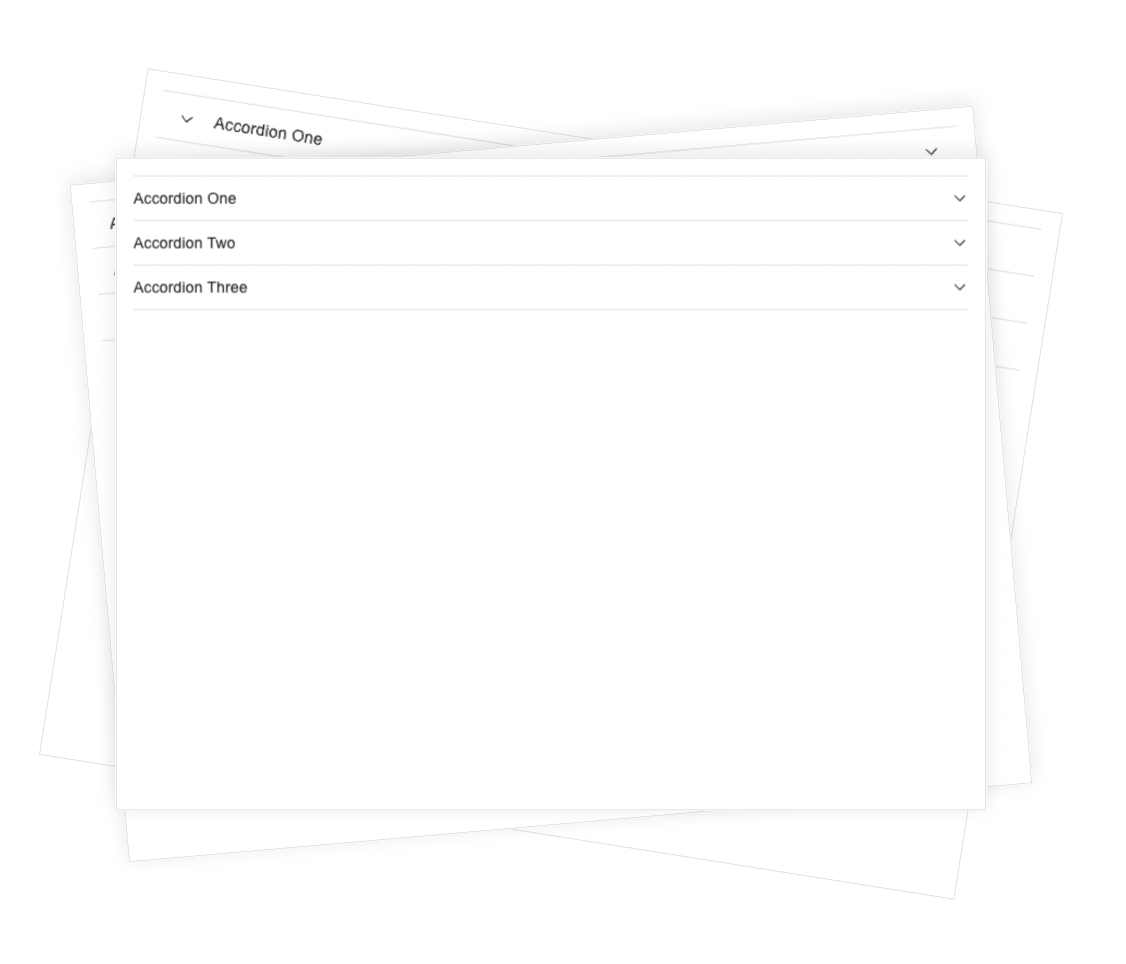
// Accordion.stories.tsx
Default.parameters = {
async puppeteerTest(page: any) {
const initialUrl = await page.url();
const states = {
align: ["start", "end"],
isFlush: [true],
size: ["sm", "md", "lg"],
}
const takeSnapshots = takeSnapshotsFactory(initialUrl);
await takeSnapshots(page, states);
}
};
Outcome
After performing the upgrade on our internal design system and running the visual regression tests, we can examine the results. The tests will generate image diffs, highlighting any visual discrepancies between the upgraded and reference versions of our components. These diffs provide valuable insights into any unexpected changes and help us identify potential issues before they impact the components built with the design system as well as our users.
Next Steps
To ensure that visual regression testing becomes an integral part of our development process, we should consider running these tests from our continuous integration(CI) system. This ensures that any changes made to our codebase are automatically tested for visual regressions, providing an early indication of any issues that may arise.
Additionally, it is important to regularly update our reference images to account for intentional design changes or improvements. This helps maintain the accuracy of our visual regression tests and avoids false positives.
Conclusion
Visual regression testing for Storybooks is a valuable practice that helps ensure the stability and consistency of our UI components. By comparing screenshots of our components before and after specific changes, we can identify any unintended visual discrepancies and address them promptly. With the help of tools like Puppeteer, Jest and the @storybook/addon-storyshots addon, we can easily set up and configure visual regression tests for our Storybooks. By integrating these tests into our development process, we can build confidence in our code changes and deliver a visually consistent user experience to our users.